How I Scan and Digitise my Paintings (Ready for Printing!)
|
Ever wondered how to get perfect scans from your handmade drawings and paintings? Fret not, I have put together my guide on exactly how to scan paintings so they are digitised and ready to turn into prints, cards, notebooks and more!
|
Most of my designs are painted by hand and then scanned in order to be compiled into designs digitally on my computer. A lot of you seem to be interested in exactly how this process works or are struggling with it yourself, so I thought it would helpful to share exactly how to scan your artwork and digitize it ready for printing onto whatever product you had in mind. In this post I won’t be sharing how I source suppliers, so if you’re interested in that, be sure to go and check out that post, too.
Which Scanner Should I Buy to Digitize my Artwork?
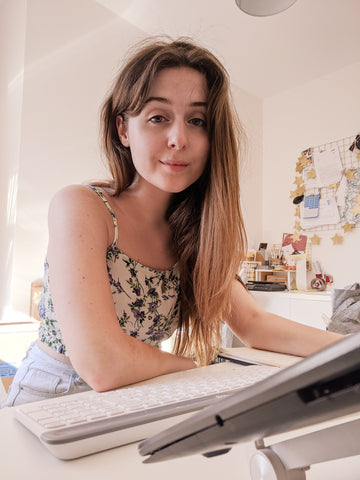
In order to scan your work you are going to need a computer and a scanner. It’s tempting to want to buy a printer/scanner combination to save on space and money, but they are not always the best option as they can sometimes be more geared towards office work and scanning documents. For my artwork it's important that it will pick up every little detail of my illustration and create a large enough image that I can use them at any size without fear of them becoming pixelated when printed.
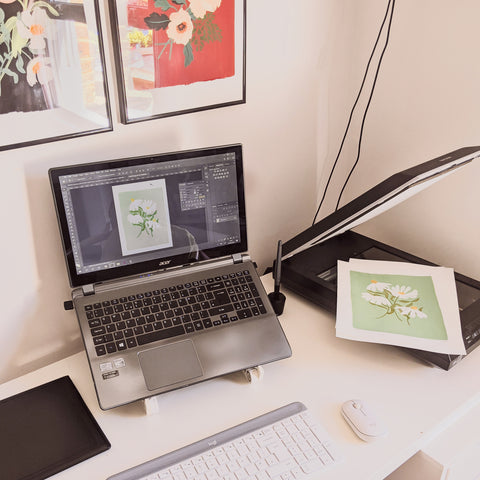
This is why I recommend a scanner that is more purpose-built for scanning images, rather than basic office work. I use an Epson Perfection V550 Photo (now an old model) which was just the best I could afford at the time. You don't have to choose this model, but essentially what you need is a scanner that will scan at a high DPI in order to pick up lots of detail. It's also helpful to have some kind of "professional mode" that allows you to tweak the colours/brightness before scanning. It can take a bit of playing around to get the effect you want, but it gives you so much more flexibility than just a button that says "scan" and not much else!
How to Scan Your Artwork
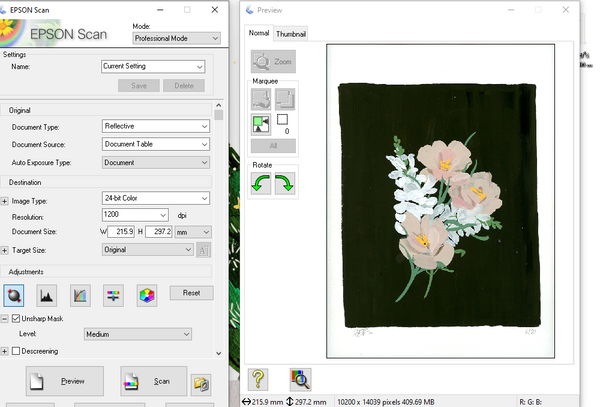
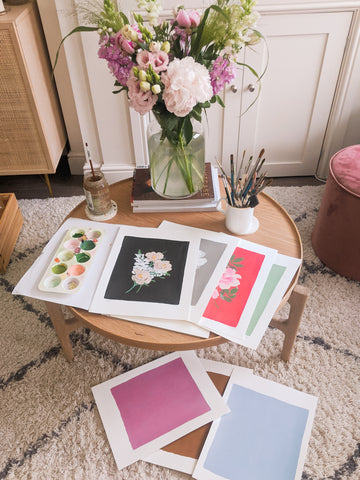
Mine allows me to scan up to 28000 dpi, but realistically the highest I ever go to is 1200dpi. This creates a pretty huge image which is more than big enough to allow me to print my paintings in larger sizes if needed. If it's something smaller like a bit of lettering or a greetings card for a website graphic, I'll scan it at 300 or 600dpi to save time (and space on my computer!) For reference, most standard printed material (like books or business cards) are printed at 300dpi, so 1200 is more than enough for most scenarios.
Oddly, using professional mode, my paintings actually scan better on document settings than photo settings, I suspect because my art is all "flat" colour, without the reflectiveness of photos. It just takes some experiementation with the settings to get your desired effect. If I'm honest, I don't make a huge amount of tweaks in the scanning application as I prefer to edit in Photoshop, but it's handy to have the option in case the scanner is not picking up pale colours on the default settings.
How to Edit Scanned Artwork
It has taken me years of playing around with my scanned images in Photoshop to get the exact effect that I am looking for, but I thought I would touch on a few tips for editing my artwork after it’s been scanned, too.
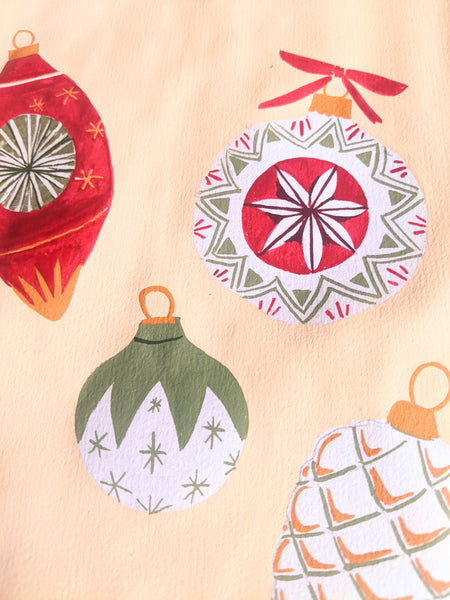
I edit all of my artwork in Photoshop, mostly because I want to show as much detail from the paint as possible. I want to show the texture of the paint, and the depth of different colours that real paint on real paper achieves. If you’re more into flat colour/digital illustration and you are planning to vectorise your work, you might want to look into editing further using Illustrator.
Either way, using some kind of editing software is a good way to adjust any colours that didn’t scan perfectly. Remove stray pencil marks or paint flicks and tidy up any hairs. My tips obviously relate to Photoshop as it’s what I’m familiar with, but you might be able to replicate most/all of these tips in free editors such as GIMP or Canva.
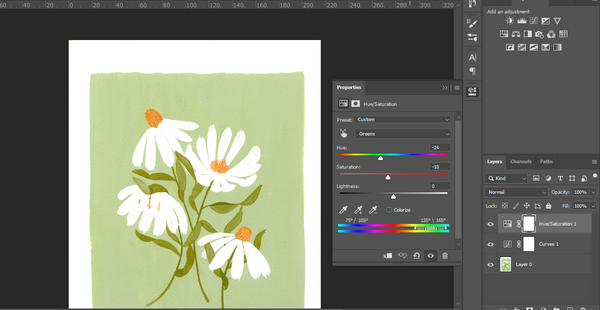
adjusting the green hue/saturation of my scanned painting
Use Adjustment Layers
In Photoshop, you can add adjustments as new layers on top of your artwork. This means that any changes you make can be adjusted as you see fit, without making permanent changes to your images. There is nothing worse than realising you made a mistake a while ago, and having to start from scratch.
Curves
Adjusting curves can often be a better tool than brightness/contrast. It means you can adjust just the highlights for example, meaning you can brighten the white background of your paper, without ruining the lovely deeper paint colours in your image. I use the “highlights “ dropper tool to achieve a white “page” without impacting my other colours too much. Just select the white dropper tool, and select the areas that should be white. Easy.
Hue/Saturation
Sometimes scanners can make your paintings have a bit of a blue/yellow hue from the harsh light. A really great way to adjust the colours to the way you want them is to use the Hue/Saturation adjustment layer. Once you apply this layer, you can use it to select all the yellows and adjust their lightness/hue/saturation. This means that if your green leaves came out looking a little more turquoise than gree, you can select the greens (or possibly cyans/blues depending on how bad it is!) and adjust the hue to return them to their intended green hue!
Selective Colour
In the same vein, you can really micro-manage the colours in your scan using the Selective Colour Adjustment Layer. Use this tool to select a colour from the drop downs (even black and white!) and fine tune the colours - add a little red and yellow to your black to create a warmer tone for example, or add a little more yellow to your reds to create an orangy-red. Both this tool, and the hue/saturation tool can take a bit of playing around to get used to, but they are absolutely invaluable to me.
Photoshop Brushes
Finally, One handy tip for editing your scans is to download a few different Photoshop Brushes Even if you aren’t intending to paint digitally, having a few brushes beyond the default photoshop options are really handy when editing your designs. Sometimes you might want to neaten up a mistake or erase a section of design and using the in-built, standard circular brushes can be tricky to make look natural. I have a few brushes I downloaded as freebies over the years that give me more of a brush-like effect, and it’s handy when editing the design to create more natural edges that blend more seamlessly with my painted design.
When I’m done editing, I will usually save the file as a photoshop file, so I know I can always come back and make changes if I need to. From there I can “Save As” whichever files I need to without impacting my original design file - for the most part I stick to JPEGs!
Optional Extra:
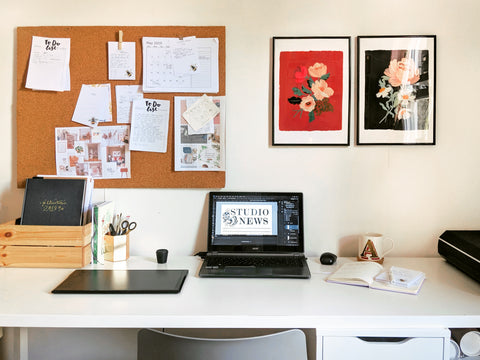
Another gadget I use regularly when editing my scanned paintings is a graphics tablet and pen. You can splash out on a fancy WACOM, although I use a cheaper alternative with a few less features because I use it mainly for editing rather than drawing. It’s tough to get used to at first, but once you are editing images and scans with a graphics tablet, you’ll struggle to go back to a mouse. Using a pen gives you so much more control of your movements, and I find it so much easier to tidy up marks or clean up edges when I can “draw” my edits, rather than scrubbing away with a mouse.


